10 Best Under Tile Membranes for Waterproofing?

Choosing the right under tile membrane can determine whether a bathroom floor stays dry or develops hidden moisture damage. Water may appear harmless at the surface, yet it can travel through grout joints, corners, and pipe openings. A reliable membrane creates an additional barrier beneath the tile assembly, especially around showers, balconies, and laundry areas.

This guide examines 10 best under tile membranes for waterproofing, based on practical installation factors rather than marketing claims alone. We consider material quality, thickness, flexibility, seam treatment, drainage compatibility, and installation difficulty. Products are also compared by their suitability for concrete, plywood, heated floors, and irregular surfaces. Small details matter. A poorly sealed corner can defeat an otherwise excellent system.

No single membrane is ideal for every project. That is worth admitting. Local building requirements, substrate movement, tile size, and manufacturer instructions can change the safest choice. Professional tile setters often check slope, surface cleanliness, curing time, and flood-test requirements before installation. Those steps may feel slow, but they expose weak points before tile hides them.

The recommendations aim to support informed decisions, not replace qualified site assessment. Always verify technical data, warranty conditions, and compatibility with adhesives or thin-set mortar. A membrane that performs well in a controlled test may still fail when rushed, folded incorrectly, or installed over a damp substrate. Careful preparation remains the foundation of waterproofing.
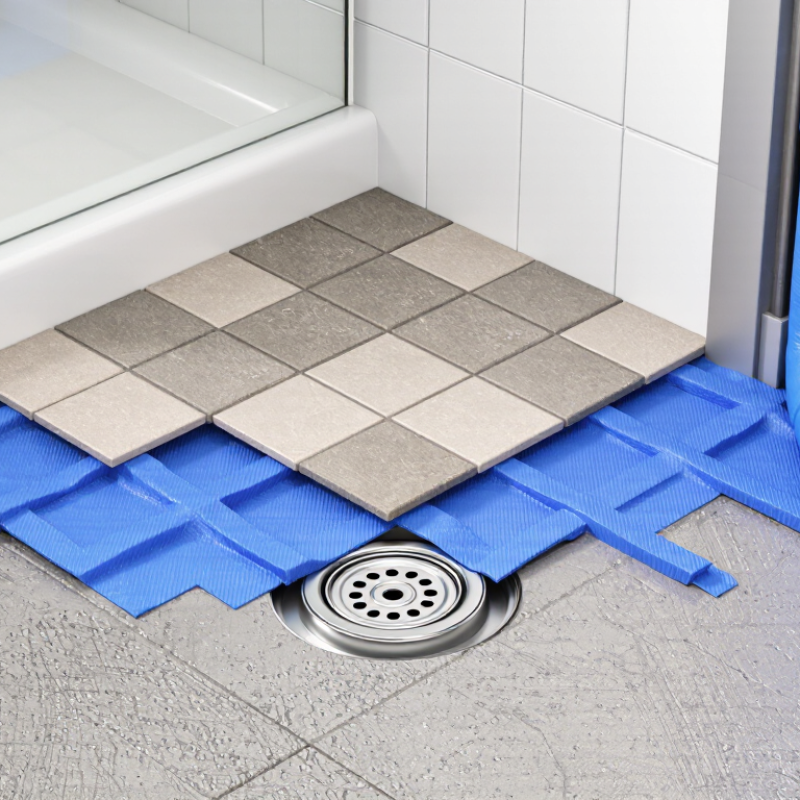
10 Best Under Tile Membranes for Waterproofing?

What Under-Tile Waterproofing Membranes Are and How They Work

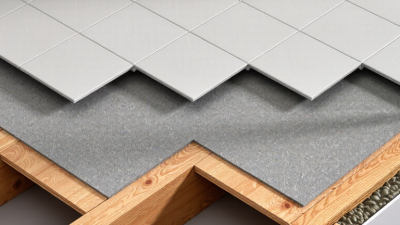
An under-tile waterproofing membrane sits between the substrate and tile. It blocks liquid water before it reaches framing, insulation, or a concrete slab. That matters because grout is porous, and tile assemblies can crack. Membranes are not magic. Sheet membranes provide controlled thickness, while liquid-applied membranes form continuous films around niches, corners, and drains. Both systems need a sound, clean, and properly sloped substrate. ANSI A118.10 defines performance requirements for bonded, waterproof membranes beneath tile. The TCNA Handbook also stresses sealed seams, compatible materials, and movement accommodation.

The Water Research Foundation’s Residential End Uses of Water, Version 2, reported that showers represented about 17% of indoor household water use. That repeated moisture exposure explains why shower waterproofing cannot rely on grout alone. During inspections, I check corners, pipe penetrations, curb transitions, and the drain connection first. These areas often fail before the broad membrane surface. A membrane may pass laboratory testing yet fail onsite if installers leave gaps, rush curing, or ignore substrate movement. That is an uncomfortable detail, but product selection is only half the decision.

Tips:

Confirm the membrane’s ANSI classification.
Follow the stated overlap and curing times.
Press sheets firmly without trapped air.
Use compatible sealant at changes of plane.
Photograph seams before tiling.
If the slope looks questionable, stop and correct it.
Water always finds the neglected edge.
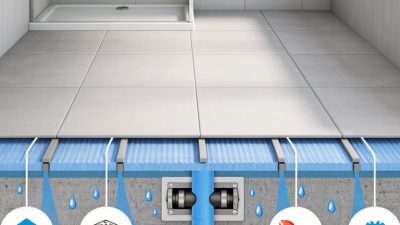
Key Types of Membranes for Floors, Walls, Showers, and Wet Areas

10 Best Under Tile Membranes for Waterproofing?

Choosing the best under-tile membrane depends on the surface, water exposure, and installation details. Sheet membranes provide consistent thickness and simplify coverage on bathroom floors. Liquid-applied membranes work well around drains, corners, and irregular wall surfaces. Cementitious coatings suit masonry substrates, but they require careful mixing and curing. Some uncoupling membranes also manage minor substrate movement beneath floor tiles.

Showers need more than a waterproof surface. A reliable system should include sealed seams, reinforced corners, pipe collars, and a properly integrated drain. Wall applications often benefit from lightweight sheet or liquid membranes, especially behind large-format tiles. Floors in laundry rooms and wet areas need strong adhesion and resistance to occasional standing water. Always check the substrate moisture level first. Trapped moisture can weaken tile bonds and encourage mold growth.

In practical installations, preparation causes more failures than the membrane itself. Dust, cracks, sharp ridges, and poorly sealed penetrations create hidden paths for water. I have seen excellent products fail because installers rushed the corners. Follow the required thickness and drying time. Do not guess. A flood test can reveal leaks before tile covers the evidence, although some systems require specific waiting periods. No membrane fixes a moving, dirty, or poorly sloped substrate.

How to Compare the Ten Best Under-Tile Membranes

Comparing the ten best under-tile membranes requires more than reading “waterproof” on a package. The 2024 TCNA Handbook treats waterproofing as a complete assembly, including seams, corners, drains, and substrate preparation. I compare each membrane against ANSI A118.10, which evaluates bonded, waterproof membranes for tile installations. Certification matters, but it does not rank products. Installation quality still decides the result.

Published technical reports should show water exposure results, thickness, tensile strength, and crack-bridging performance. ASTM E96 data helps compare vapor permeance, measured in perms; a lower value usually indicates stronger vapor resistance. ASTM C627 Robinson floor-test ratings can also reveal whether a system suits residential or heavier traffic. Look for clear test conditions, not vague claims. A membrane that survives a laboratory test may still fail around a poorly sealed pipe.

I also check sheet overlap, curing time, drain compatibility, and movement-joint details. Some membranes are easier to cut around a shower niche. Others feel rigid and punish small installation errors. That difference is practical, not cosmetic. I would record ten products in the same table, using identical criteria and current technical documents. My own comparison would remain cautious: published data can be incomplete, and “best” changes with the room, substrate, and installer. Test the details, not just the roll.

10 Best Under Tile Membranes for Waterproofing? - How to Compare the Ten Best Under-Tile Membranes

Rank Membrane Type Typical Form Typical Thickness Waterproofing Crack Isolation Typical Coverage or Roll Size Best Application Main Advantages Important Limitations
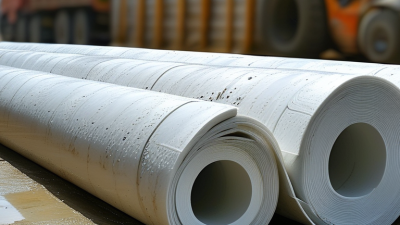
1 Sheet Waterproofing and Uncoupling Membrane Polyethylene or composite sheet with fleece layers Approximately 0.04–0.08 in. (1–2 mm) Yes, when seams and penetrations are sealed Good to high, depending on the system Commonly 3–4 ft wide rolls; lengths vary Bathrooms, showers, kitchens, balconies, and heated floors Fast installation, consistent thickness, low added height, and dual waterproofing/uncoupling function Requires careful overlaps, seam treatment, and compatible thin-set mortar
2 Sheet-Applied Waterproofing Membrane Flexible waterproof sheet with bonding fleece or adhesive backing Approximately 0.02–0.06 in. (0.5–1.5 mm) Yes, after seams and corners are detailed Moderate; depends on the tested assembly Commonly 3–4 ft wide rolls Wet rooms, shower walls, shower floors, and tub surrounds Predictable membrane thickness, immediate water resistance, and clean installation Substrate must be smooth and properly prepared; wrinkles can create voids
3 Polyethylene Uncoupling Sheet Dimpled or grid-patterned plastic sheet with fleece backing Approximately 0.10–0.20 in. (2.5–5 mm) Only when the specific sheet and all joints are detailed as a waterproof system High uncoupling performance in suitable assemblies Commonly 3–4 ft wide rolls Concrete slabs, wood subfloors, and floors with movement concerns Helps reduce stress transfer and can support faster tile installation Not every uncoupling sheet is waterproof; verify the installation category before use in showers
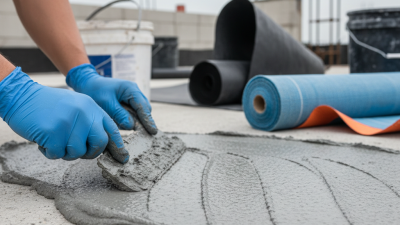
4 Liquid-Applied Elastomeric Membrane Roll-on or brush-on liquid coating Usually 0.040–0.080 in. (1–2 mm) dry-film thickness Yes, when applied at the specified wet-film thickness Moderate to high, depending on formulation and thickness Approximately 50–150 sq. ft. per gallon, depending on thickness and surface texture Complex shower areas, niches, corners, and irregular surfaces Seamless coverage, easy detailing around penetrations, and minimal material buildup Coverage is highly dependent on application thickness; insufficient coats can compromise performance
5 Liquid Crack-Isolation and Waterproofing Membrane Flexible liquid coating applied by roller, brush, or trowel Often 0.030–0.060 in. (0.75–1.5 mm) dry-film thickness Yes if the product is rated for waterproofing Good for limited, non-structural cracks within tested limits Approximately 60–150 sq. ft. per gallon, depending on application thickness Tile floors over concrete where minor cracking is a concern Combines moisture protection with crack-isolation properties and is easy to cut around fixtures Does not correct structural movement, active leaks, or unstable substrates
6 Flexible Cementitious Waterproofing Membrane One- or two-component cement-based slurry Approximately 0.040–0.080 in. (1–2 mm) in multiple coats Yes when mixed, reinforced, and applied as specified Low to moderate, depending on polymer modification Coverage commonly ranges from 40–100 sq. ft. per 50 lb. unit Masonry, concrete showers, foundations, and mineral substrates Strong bond to cementitious surfaces, good vapor resistance, and compatibility with damp mineral substrates Requires accurate mixing and curing; may be less flexible than sheet or elastomeric systems
7 PVC or CPE Sheet Liner Flexible plastic liner installed beneath a mortar bed Commonly 0.030–0.040 in. (0.76–1.02 mm) Yes when clamped, welded, or sealed with compatible fittings Low; primarily a water-containment layer Commonly supplied in 4–6 ft wide sheets or rolls Traditional shower pans and recessed wet-area floors Durable, highly water-resistant, and suitable for traditional mortar-bed construction Usually installed below the mortar bed, creating a thicker assembly and requiring properly formed slopes
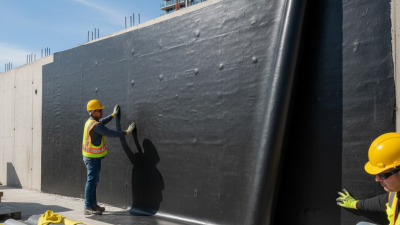
8 Peel-and-Stick Waterproofing Membrane Self-adhering rubberized asphalt or polymer sheet Approximately 0.040–0.060 in. (1–1.5 mm) Yes when overlaps and transitions are sealed Moderate, but not a substitute for structural crack repair Commonly 3–4 ft wide rolls with variable lengths Wood subfloors, small wet areas, and renovation projects No curing time, consistent thickness, and useful for rapid waterproofing work Needs a clean, dry, suitably primed substrate; some types are not approved for direct tile bonding
9 Drainage and Venting Membrane Textured sheet with drainage channels and fleece surfaces Approximately 0.08–0.20 in. (2–5 mm) Not always a standalone waterproofing layer; often used with a separate waterproof substrate system Limited; primary function is moisture movement and pressure relief Commonly 3–4 ft wide rolls Exterior decks, balconies, terraces, and areas exposed to residual moisture Helps manage vapor pressure and provides drainage beneath tile assemblies Must be matched with correct slope, drainage details, edge treatment, and waterproofing layers
10 Fabric-Reinforced Liquid Membrane Liquid coating combined with embedded reinforcing fabric Approximately 0.060–0.100 in. (1.5–2.5 mm) at reinforced areas Yes when the coating and fabric form a continuous system Good at joints, transitions, corners, and other localized movement points Coverage varies widely; often approximately 40–100 sq. ft. per gallon High-risk transitions, cracks, drains, wall-to-floor joints, and irregular substrates Adds reinforcement where needed and adapts well to complicated geometries More labor-intensive than a simple coating and requires full fabric saturation without gaps or bubbles
Comparison note: Actual thickness, coverage, curing time, substrate requirements, and approved uses vary by membrane system. For wet areas, confirm that the complete assembly is tested or specified for waterproofing, crack isolation, or both, and follow the applicable installation instructions and standards such as ANSI A118.10 and ANSI A118.12 where relevant.

Installation Steps for a Reliable Waterproof Tile System

A reliable waterproof tile system begins with a clean, stable substrate. Remove dust, paint, and loose mortar before measuring the area. Check the surface with a straightedge. Uneven spots can create weak points beneath the membrane. Keep it flat. Repair cracks with a compatible patching material, then allow it to cure fully.

Cut the under-tile membrane before applying adhesive. Dry-fit each sheet around drains, corners, and pipe openings. Use the correct bonding material for the membrane and substrate. Press the sheet firmly with a flat trowel or roller. Work from the center outward. This action removes trapped air and prevents hollow pockets. Seal overlaps, inside corners, and penetrations with approved waterproofing components. A small wrinkle seems harmless. It is not.

Allow the system to set according to the installation instructions. Do not rush. For a shower base, complete the required water test before covering the membrane with tile. Watch for falling water levels and inspect nearby framing for dampness. If a seam lifts, fix it before tiling. I have seen rushed installations fail at corners, not in the open field. That detail changes how I inspect the work. Apply tile adhesive evenly, avoid damaging the membrane, and keep movement joints clear. Photographing covered seams may also provide useful maintenance records later.

Common Membrane Failures and How to Prevent Them

A waterproofing membrane can fail long before water reaches the room below. The usual causes are small: pinholes, loose seams, dusty concrete, and unsealed pipe penetrations. Tile Council of North America guidance stresses clean, stable substrates and correctly treated movement joints. Its Handbook recommends interior movement joints about every 20 to 25 feet, depending on conditions. Ignoring movement is expensive.

Seams deserve special attention. Overlapping sheets without the specified sealant can create a hidden leak path. Liquid membranes also fail when installers apply uneven coats or cover them before the required curing time. ANSI A118.10 evaluates bonded waterproof membranes through standardized hydrostatic-pressure and seam-performance tests. Passing the test does not excuse poor installation. Measure coverage with a wet-film gauge, reinforce corners, and inspect every drain connection before tiling.

A practical flood test can expose weak points. ASTM and plumbing guidance commonly use a 24-hour test period for shower receptors, with the drain sealed and the water level marked. Check the ceiling below, not only the shower floor. A 2023 construction-defect report from industry insurer data identified water intrusion as one of the most frequent and costly defect categories, although project conditions vary widely. That warning is useful, but not perfect. Membranes are not magic. Poor detailing still wins.

The chart ranks ten recurring under-tile waterproofing failure risks on a qualitative 1–5 priority scale, where 5 indicates the highest prevention priority. The ranking reflects common requirements in tile waterproofing standards and installation guidance; it is not a statistical field-failure percentage. Proper substrate preparation, sealed transitions, compatible drain connections, correct membrane thickness, movement-joint treatment, curing, and protection before tiling are essential to reduce failure risk.

Resources

Copyright © CUSTOM Building Products 2025
Products | Resources | Interactive Tools | Warranties | Privacy Policy | Terms of Use | Technical Training