What Is a Tile Isolation Membrane and Why Use It?

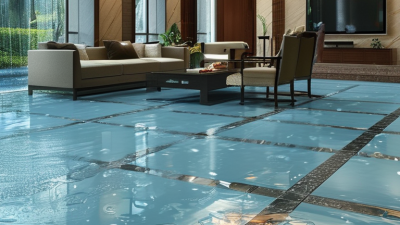
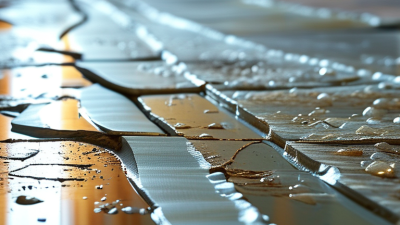
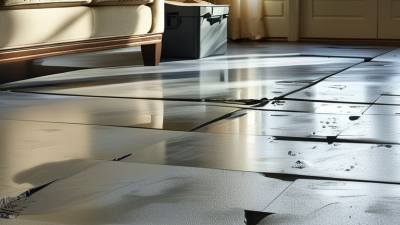
A tile installation can look perfect on day one and still fail months later. Concrete shrinks. Wood framing flexes. Temperature changes move surfaces beneath the tile. These stresses may appear as cracked grout, loose tiles, or a long fracture crossing several joints.

A tile isolation membrane helps reduce this risk by separating the tile layer from limited movement in the substrate. It creates a controlled interface beneath the tile assembly. Depending on the product, it may also provide waterproofing, vapor management, or crack-bridging support. However, it is not a cure for every structural problem. The floor must still be clean, stable, and properly prepared.

Michael Byrne, a respected tile educator and former technical writer, often stressed a basic principle: “Tile is a finish material, not a structural material.” That idea explains why substrate preparation matters so much. A membrane cannot repair weak plywood, active cracks, poor drainage, or incorrect mortar coverage. It can only perform within its tested installation system.

Picture a bathroom floor over timber framing. Slight seasonal movement may occur beneath the surface. Without separation, that movement can transfer directly into brittle grout lines. With a properly selected tile isolation membrane, the assembly has another layer to manage stress. Small details matter. Seams need correct treatment. Mortar needs full contact. Curing times must be respected.

The product is not magic.

Choosing the right membrane requires attention to movement, moisture, tile size, substrate type, and manufacturer instructions. Even experienced installers sometimes overlook one detail. That is worth remembering. Reliable tile work comes from compatible materials, careful preparation, and honest evaluation of site conditions.
What Is a Tile Isolation Membrane and Why Use It?

What Is a Tile Isolation Membrane?

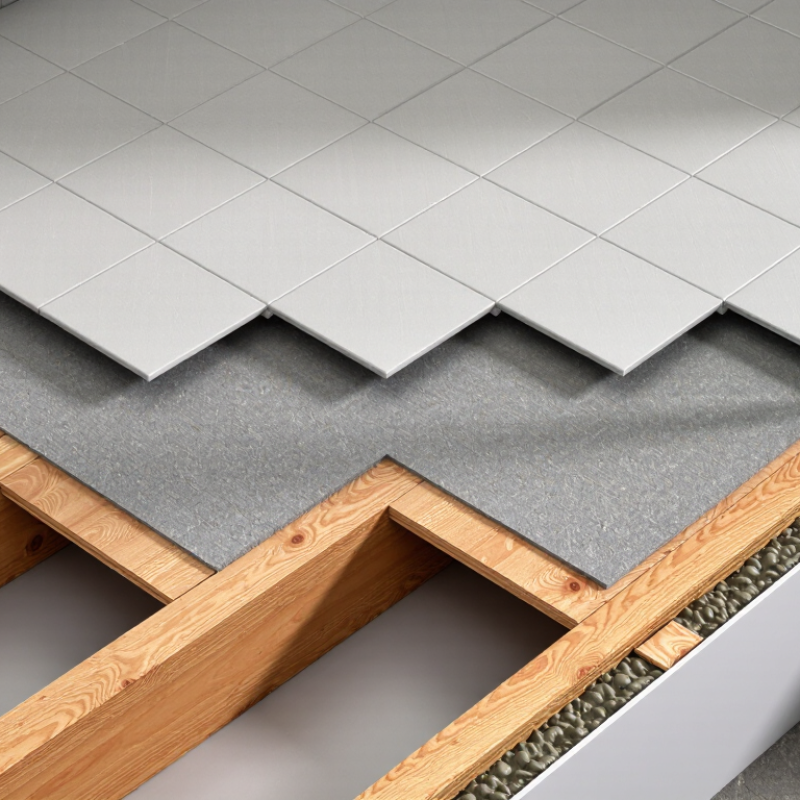
A tile isolation membrane is a thin layer installed between a substrate and tile. It helps separate the tile surface from minor movement below it. Concrete can shrink, expand, or develop small cracks as temperature and moisture change. Without separation, those stresses may transfer into grout joints or tile surfaces. The membrane creates a flexible transition. It is not a structural repair.

The membrane usually consists of a sheet, fabric, or textured layer attached with suitable mortar. Its exact performance depends on the product design and installation method. A clean, stable substrate remains essential. Dust, loose concrete, grease, and sharp ridges can prevent proper bonding. Installers should also respect curing times, joint placement, and the manufacturer’s coverage requirements. I have found that rushing surface preparation causes more trouble than the membrane solves. That detail is easy to underestimate.

Tips: Check the substrate with a straightedge before installation. Mark existing joints and continue them through the tile assembly when required. Use the correct trowel and press the membrane firmly into the mortar. Do not assume every isolation membrane provides waterproofing. Confirm its tested function before using it in a wet area. Small bubbles may look harmless, but poor contact can create weak spots. When uncertain, ask a qualified tile professional to review the substrate and installation plan.
How Does a Tile Isolation Membrane Work?

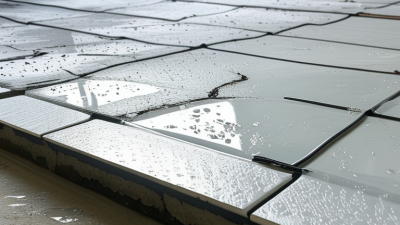
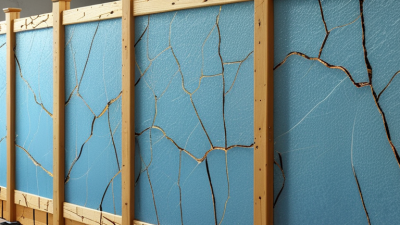
Tile isolation membrane works as a separating layer between the tile covering and the substrate below. It is usually a sheet or liquid-applied material. After installation, it creates a controlled interface. Small floor movement can then occur without transferring directly into the tile surface. This matters because concrete may shrink, expand, or develop minor cracks as moisture and temperature change.

In practice, the membrane does not make the floor motionless. It absorbs or redirects limited stress. A properly bonded layer helps prevent cracks from appearing through grout lines and tiles. Some systems also manage vapor movement or provide water protection, depending on their tested design. The installer must match the membrane to the substrate, tile size, room conditions, and adhesive requirements. Clean, dry, well-prepared surfaces remain essential. No shortcut there.

Installation details decide whether the system performs well. The membrane needs full contact, consistent coverage, and sealed seams when required. Hollow spots can become weak points under foot traffic. I have seen failures blamed on the membrane when dust, uneven concrete, or rushed curing caused the real problem. Still, membranes are not a cure-all. Excessive structural movement requires professional evaluation. Following installation data and local building requirements gives the floor a more reliable chance of lasting.

What Is a Tile Isolation Membrane and Why Use It?

How Does a Tile Isolation Membrane Work?

The chart shows representative thicknesses commonly found in a residential tile assembly. A tile isolation membrane is usually a thin separation layer installed between the tile setting bed and the substrate. It helps reduce the transfer of minor in-plane substrate movement, shrinkage stresses, and small cracks to the finished tile surface. The membrane does not replace structural repairs or required movement joints, and actual thicknesses vary by tile system and installation method.

When Should You Use a Tile Isolation Membrane?

A tile isolation membrane is most useful when the tile layer needs protection from movement below it.

Use one over concrete with hairline cracks, plywood subfloors, radiant-heating systems, or substrates made from different materials. It can reduce stress transfer, but it cannot repair unstable framing or active structural movement.

The Tile Council of North America Handbook advises evaluating substrate movement, joints, and moisture before installation. ANSI A108.17 also emphasizes proper membrane installation and bond preparation. These details matter.

A 2024 U.S. Houzz & Home Study reported a median bathroom renovation spend of about $13,500, so preventing tile failure protects a significant investment.

The membrane is not a shortcut.

Use it when the substrate is sound but conditions are demanding. Concrete below grade may face moisture vapor. Large rooms may need planned movement joints. Floors with heating cables experience repeated expansion and contraction. A membrane can help manage these stresses when matched with the correct mortar and tile system.

Check the substrate first.

Do not cover cracks that continue to widen. Do not bridge construction joints without following the system’s technical requirements. The TCNA Handbook treats movement accommodation as part of the complete installation, not a single-product decision.

In practice, installers sometimes specify a membrane too quickly. That is worth questioning. A careful inspection, moisture assessment, and movement plan should come before any membrane is selected.

How to Choose the Right Tile Isolation Membrane

What Is a Tile Isolation Membrane and Why Use It?

A tile isolation membrane separates tile from the subfloor below. It helps reduce stress caused by minor movement, shrinkage, or temperature changes. Without this layer, cracks in a concrete slab may transfer into grout lines or tiles. Some membranes also provide waterproofing, but not every product does. Check the technical sheet carefully.

How to Choose the Right Tile Isolation Membrane

Start with the installation location. A bathroom floor needs strong moisture protection and reliable seam treatment. A basement may need better vapor management. Outdoor areas require resistance to temperature changes and drainage concerns. Fit matters. The membrane must suit the substrate, adhesive, tile size, and expected movement.

Look for clear testing data, installation limits, and compatibility guidance. A thicker sheet is not automatically better. It may create awkward transitions near doorways. For large-format tile, choose a system that supports proper mortar coverage and reduces hollow spots. On renovation sites, many failures begin with dust, uneven concrete, or rushed seams. Clean the surface first. Read the details.

I have seen installers treat isolation membranes as insurance for every problem. That is a mistake. They cannot correct weak plywood, standing water, or poor framing. I once underestimated a small floor height change, and the finished doorway looked careless. Measuring elevations earlier would have prevented it. When conditions remain uncertain, ask a qualified tile professional to inspect the substrate before installation.

How to Install a Tile Isolation Membrane Properly

What Is a Tile Isolation Membrane and Why Use It?

A tile isolation membrane separates tile from the movement beneath it. It can reduce stress from minor cracks, shrinkage, and temperature changes. Without this layer, movement may transfer directly into the tile or grout. Concrete can look solid while still shifting slightly.

How to Install a Tile Isolation Membrane Properly

Begin with a clean, dry, and structurally sound surface. Remove dust, paint, oil, and loose mortar. Repair deep cracks and uneven areas before installation. A membrane cannot correct a weak substrate. Measure the floor, then cut the membrane with a sharp utility knife. Mix the recommended mortar to a smooth, workable texture. Spread it evenly with the specified notched trowel. Press the membrane into the mortar while it remains fresh. Work from the center outward to remove trapped air. Keep seams aligned, and treat them according to the installation instructions. Allow proper setting time before laying tile. Do not rush.

Resources

Copyright © CUSTOM Building Products 2025
Products | Resources | Interactive Tools | Warranties | Privacy Policy | Terms of Use | Technical Training