Essential Tips for Installing Kerdi Floor Membrane Like a Pro
Installing a Kerdi floor membrane is a crucial aspect of ensuring a watertight and durable tiled surface, especially in wet areas like bathrooms and kitchens. As homeowners and DIY enthusiasts aim to create functional yet aesthetically pleasing spaces, understanding the intricacies of Kerdi floor membrane installation becomes essential. This guide will provide you with essential tips that can elevate your approach and help you execute the installation process like a pro.
Mastering the installation of a Kerdi floor membrane not only enhances the longevity of your tile work but also mitigates common issues such as leaks and mold growth. With proper guidance and techniques, you can achieve a seamless application that guarantees a strong foundation for your tile. Whether you are a seasoned installer or a first-timer, our tips will empower you with the knowledge and confidence to tackle this vital project effectively. Get ready to transform your flooring and ensure a reliable water management system with the right Kerdi floor membrane installation practices.
Understanding Kerdi Floor Membrane and Its Benefits
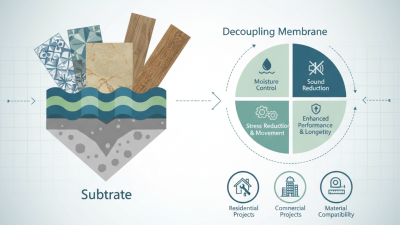
The Kerdi floor membrane is a revolutionary product designed to enhance the durability and efficiency of tile installations. This waterproof membrane provides an effective barrier against moisture, protecting the substrate from water damage and mold growth. By creating a continuous seal, it ensures that water does not penetrate through the flooring system, making it an ideal choice for areas prone to high moisture, such as bathrooms and kitchens. Its versatility allows it to be used with various surface materials, contributing to a more reliable and long-lasting installation.
In addition to moisture protection, the Kerdi membrane also promotes a seamless installation process. It is lightweight and easy to handle, allowing DIY enthusiasts and professionals alike to achieve a professional finish without excessive effort. The membrane’s thin profile means it can be installed without raising the floor height significantly, making it perfect for renovations where maintaining a consistent floor level is crucial. Furthermore, the Kerdi system supports a variety of tile types, providing flexibility in design choices while ensuring structural integrity. Overall, understanding the benefits of Kerdi floor membrane can significantly enhance the success and longevity of a flooring project.
Preparing the Subfloor for a Successful Installation
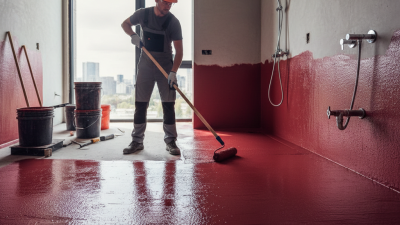
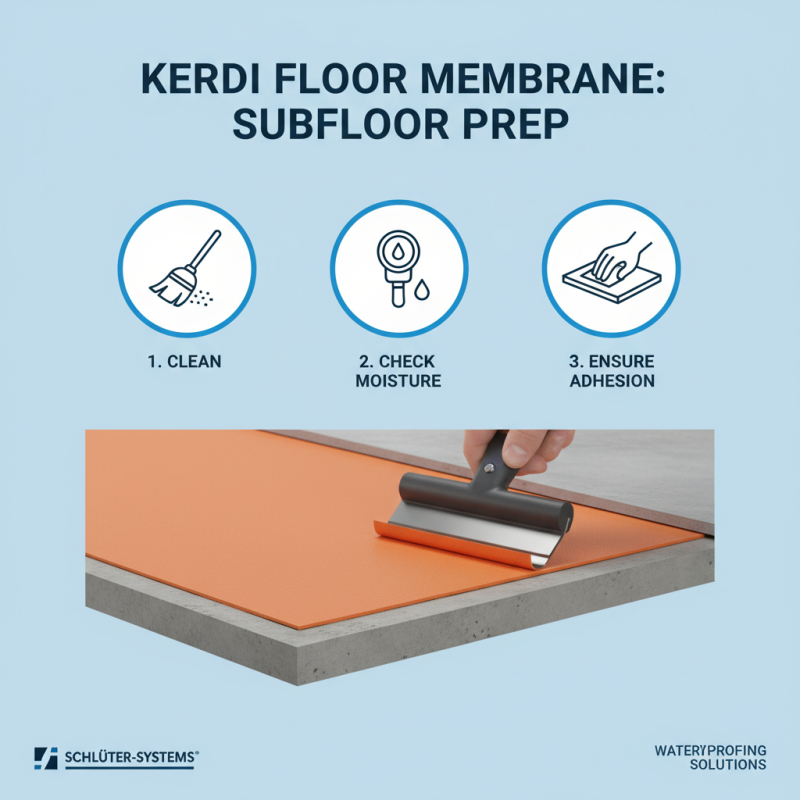
Preparing the subfloor is a critical step in ensuring a successful installation of the Kerdi floor membrane. The subfloor must be clean, dry, and level to provide a solid foundation for the membrane. Start by removing any old floor coverings, adhesives, and debris. This can be achieved with a floor scraper or a vacuum to ensure no residue remains.
Once the surface is cleared, inspect for any damage or uneven areas that could compromise the installation. Utilize a leveling compound to fill in low spots and make sure the surface is smooth and even.
After achieving a clean and level subfloor, it’s essential to take moisture levels into consideration. Measure the moisture content of the subfloor, as excess moisture can lead to complications with the membrane. If needed, allow the subfloor to dry adequately before proceeding. Additionally, consider applying a primer to enhance adhesion between the membrane and the subfloor surface.
Following these preparation steps will not only result in a more efficient installation process but also ensure the longevity and effectiveness of the Kerdi floor membrane, providing a reliable waterproof barrier for your space.
Step-by-Step Guide to Cutting and Measuring Kerdi Membrane
When it comes to installing a Kerdi floor membrane, precision in cutting and measuring is crucial for achieving a professional finish. Proper measurement ensures that the membrane not only fits snugly but also effectively controls moisture, which is critical in preventing long-term damage to underlying structures. According to a report by the Tile Council of North America, about 50% of post-installation failures in tiled surfaces can be attributed to improper membrane application. Thus, adhering to precise cutting and measuring practices can significantly reduce the risk of such failures.
To begin measuring your Kerdi membrane, always work from the center of the room and move towards the edges, taking into account any fixtures or obstructions that may affect your layout. Use a high-quality measuring tape and a straightedge for accuracy. When marking your cuts, consider incorporating a 1/8-inch allowance for expansion, as different materials may shift slightly when installed. Reliable data indicates that well-measured membranes can enhance the overall durability and longevity of tiled surfaces by over 30%. Following a systematic process of cutting the membrane will not only help in fitting it correctly but also improve its water resistance, ultimately safeguarding your installation for years to come.
Techniques for Properly Adhering Kerdi Membrane to the Subfloor
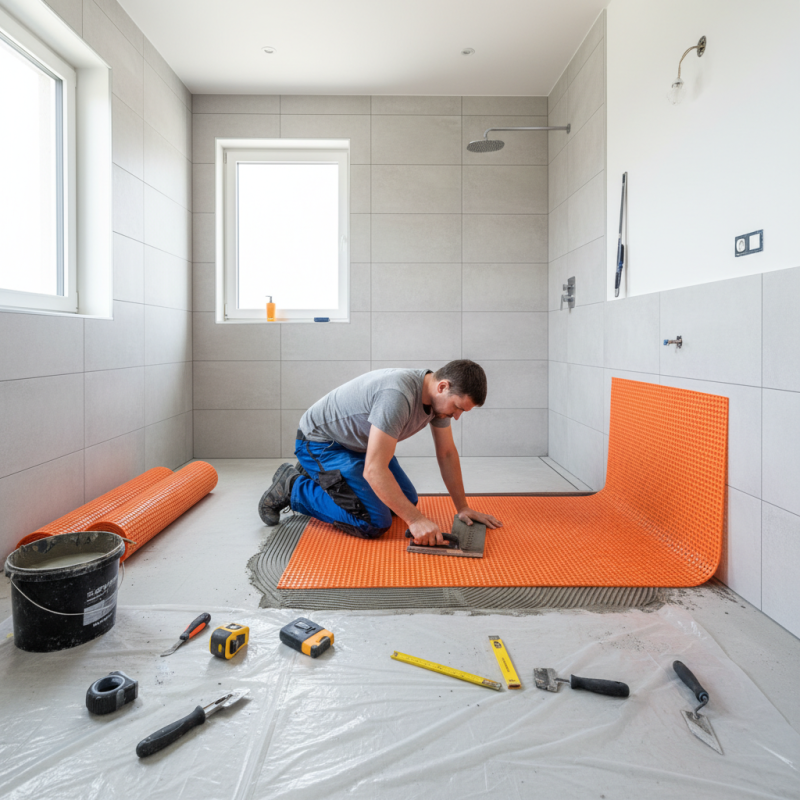
When installing a Kerdi floor membrane, ensuring proper adhesion to the subfloor is crucial for achieving a long-lasting waterproof surface. One essential technique is to prepare the subfloor adequately. Begin by cleaning the surface to remove dust, debris, and any substances that could interfere with adhesion. It's important to check for any moisture issues as well; a dry and clean subfloor helps the membrane bond effectively.
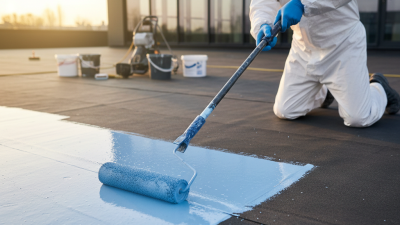
Once the subfloor is ready, you should apply thin-set mortar evenly over the surface using a notched trowel. This not only provides a strong bond but also allows for proper leveling. As you lay down the Kerdi membrane, use a drywall knife or trowel to press it into the mortar, eliminating air pockets and ensuring your membrane is firmly adhered.
Tips for achieving a perfect bond include working in small sections to prevent the mortar from drying out before laying the membrane. Always check for proper alignment before fully adhering each piece, and consider using a roller to apply even pressure across the membrane. This meticulous approach will help you achieve a waterproof barrier that stands the test of time.
Finishing Touches: Sealing Joints and Ensuring Waterproofing
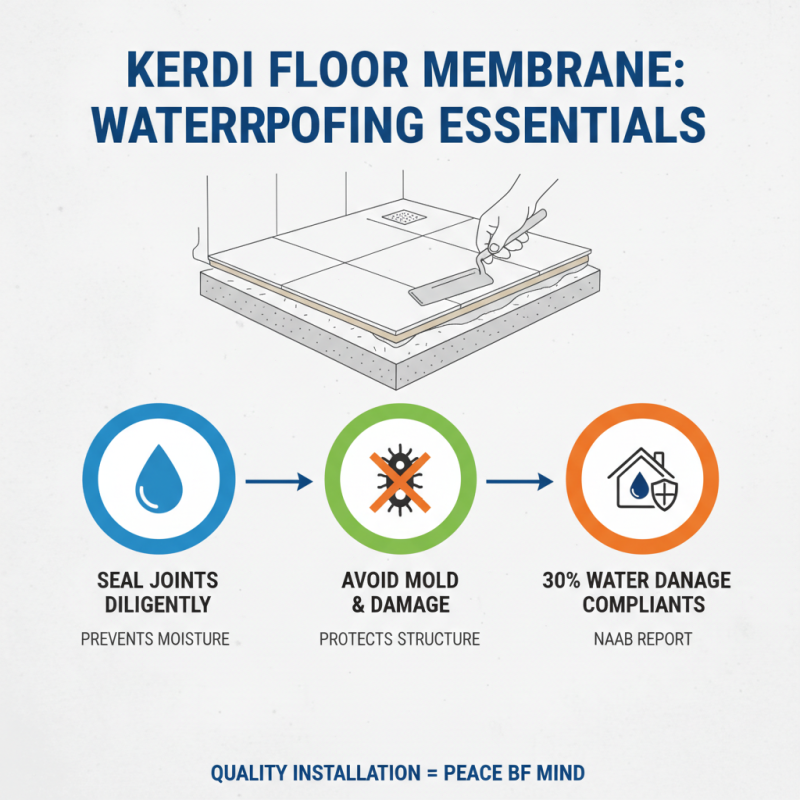
When installing a Kerdi floor membrane, attention to detail in sealing joints and ensuring waterproofing is essential. It is widely recognized in the construction industry that improperly sealed joints can lead to moisture infiltration, which is a leading cause of mold and structural damage. According to a report by the National Association of Home Builders, around 30% of homeowner complaints stem from water damage, further highlighting the need for meticulous installation practices.
To effectively seal joints, it is crucial to use the right adhesive methods and materials recommended for your specific application. Experts recommend the use of a notched trowel to ensure an even application of thin-set mortar, which is vital for achieving a strong bond. Additionally, it’s essential to overlap seams by at least 2 inches and apply a waterproof sealant at the intersections and transitions. Data from the Tile Council of North America indicates that proper joint sealing can enhance the waterproofing integrity of flooring systems by up to 15%, significantly reducing the risk of leaks.
In terms of achieving optimal waterproofing, the installation process should always include checking for any gaps or voids in the membrane. Utilizing a membrane inspection method, such as a flood test, can help detect any potential weak points before the installation of tiles. The American Society of Home Inspectors recommends conducting such tests to ensure that the joint sealing and membrane properties meet industry standards, thereby providing peace of mind for homeowners and professionals alike.