How to Install a Water Proofing Membrane for Effective Protection?
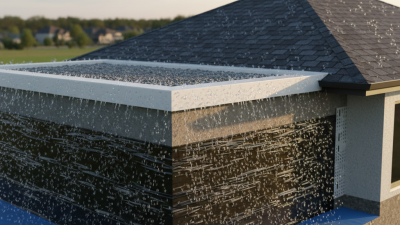
Installing a water proofing membrane is crucial for protecting your property. Moisture can cause serious damage over time. A quality membrane helps prevent leaks and structural issues. Understanding the installation process can save you headaches later.
When you choose the right water proofing membrane, you ensure durability. Selecting materials is not just about cost. It’s important to consider your environment. Different climates can affect your choice. You want a solution that lasts.
Installation requires attention to detail. Mistakes can lead to costly repairs. Even a small gap in the membrane can allow water in. Preparation is key before starting. Make sure the surface is clean and dry. A little care now can prevent major problems in the future.
Understanding the Importance of Waterproofing Membranes in Construction
Waterproofing membranes play a crucial role in construction. They act as barriers against moisture, preventing water intrusion. According to the National Association of Waterproofing and Structural Repair Contractors, water damages can account for approximately 30% of construction defects. This underscores the need for effective waterproofing solutions.
In recent years, the demand for waterproofing products has surged. Reports show that the global waterproofing membrane market is expected to reach $38 billion by 2026, growing at over 8% annually. This growth reflects the increasing awareness of the importance of protecting buildings from water damage. Choosing the right membrane can greatly enhance a structure's longevity.
Many projects underestimate the need for proper installation. A poorly applied waterproofing solution can lead to leaks and costly repairs. For instance, a report from the International Institute of Building shows that up to 90% of structural failures are linked to moisture issues. The typical payout for water damage claims can reach thousands, making effective waterproofing essential. Finding the balance between cost and quality in membranes is critical for long-term success.
Waterproofing Membrane Efficiency by Type
This bar chart illustrates the efficiency of different types of waterproofing membranes commonly used in construction. The percentages indicate how effective each type is in preventing water ingress, demonstrating the importance of selecting the right membrane for any construction project.
Types of Waterproofing Membranes: Pros and Cons
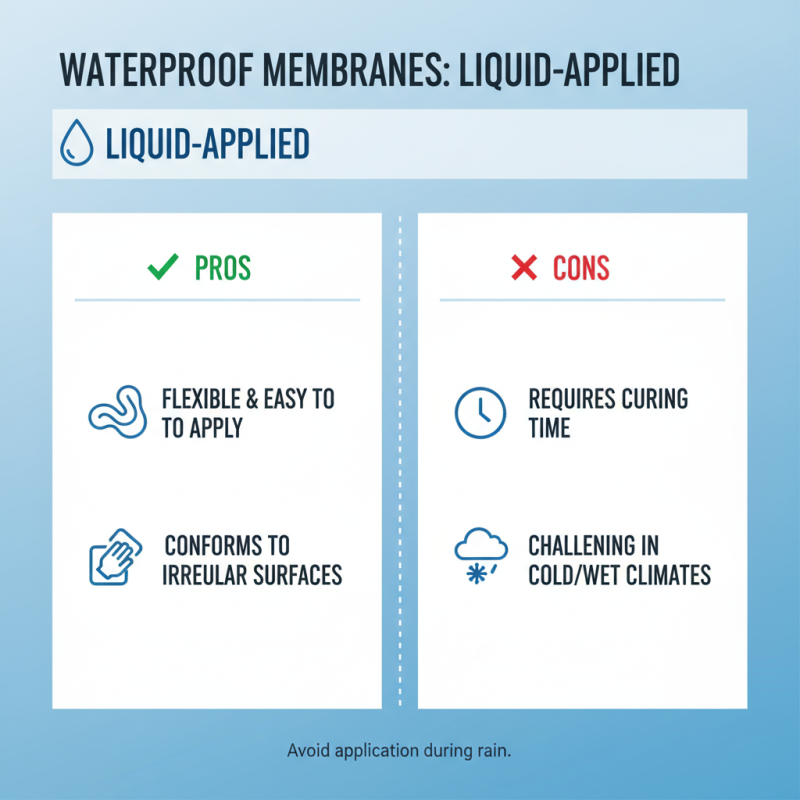
When choosing a waterproofing membrane, several types come to mind. Each has unique pros and cons. Liquid-applied membranes are flexible and easy to apply. They conform to irregular surfaces well. However, they require time to cure. In colder climates, this can be a drawback. A solid surface can be unpredictable when it rains.
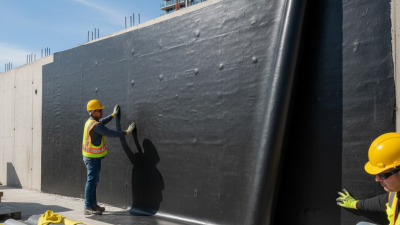
Sheet membranes offer robust performance. They are durable and can resist high water pressure. Yet, the installation can be complex. Overlapping seams might not seal properly, risking leaks. One misstep during installation can lead to future issues. Careful attention is necessary.
Additionally, foam membranes are lightweight and provide insulation. They are easy to handle and install. Still, they may not be suitable for extreme weather conditions. Their lifespan could also be shorter compared to other types. Evaluating these factors is crucial for effective protection against water damage. Understanding these nuances helps in making informed decisions.
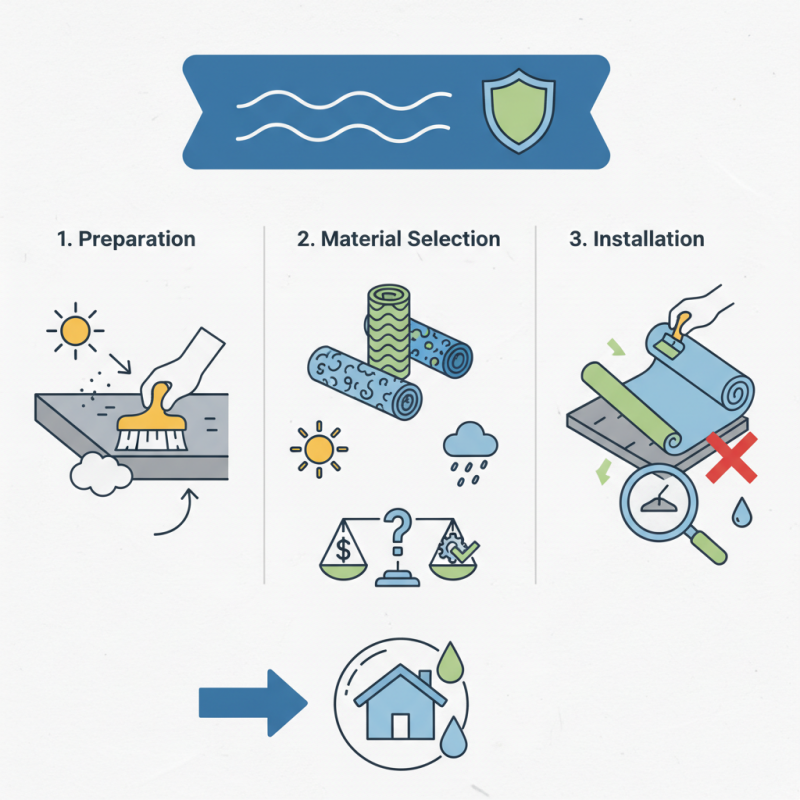
Preparing the Surface for Effective Waterproofing Installation
Preparing the surface is crucial for waterproofing installation. Start by cleaning the area thoroughly. Remove dirt, dust, and any loose materials. This ensures a strong bond between the membrane and the surface. An unclean surface can lead to failures later. Pay attention to any cracks or imperfections. They should be filled or smoothed out before proceeding.
Next, check for moisture. A damp surface can prevent the membrane from adhering properly. Use a moisture meter if necessary. If the substrate is wet, allow it to dry completely. This could take time, but it’s essential for long-lasting results.
Consider the temperature as well. Extreme weather can affect the installation. Ideal conditions often range between 50°F to 85°F. If it’s too cold, the membrane may not stick well. If it’s too hot, it might cure too quickly, reducing its effectiveness. Always prepare by assessing these environmental factors. Each step impacts the overall performance of the waterproofing system.
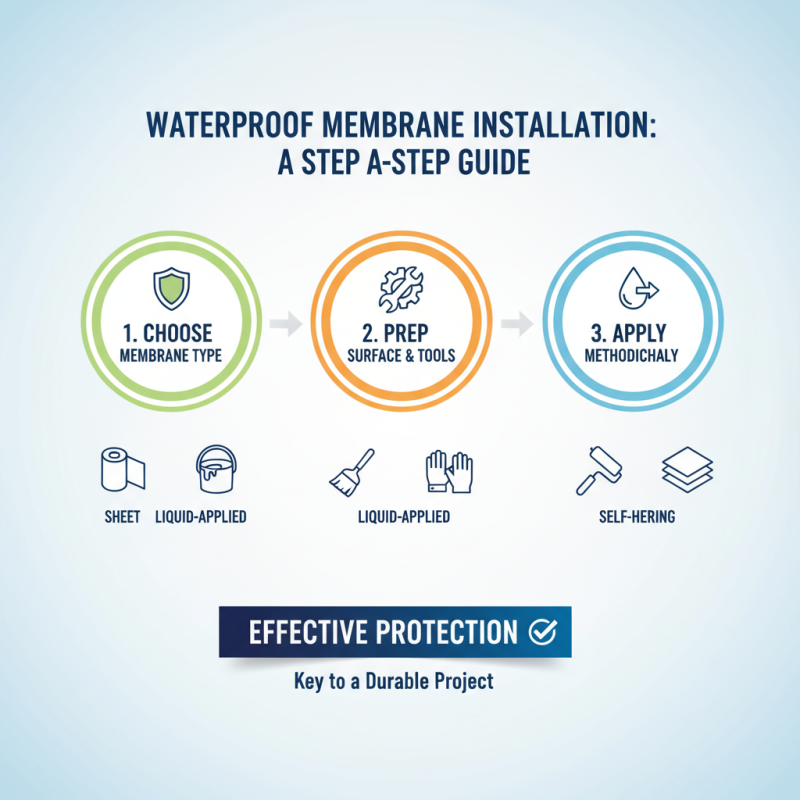
Step-by-Step Guide to Installing a Waterproofing Membrane
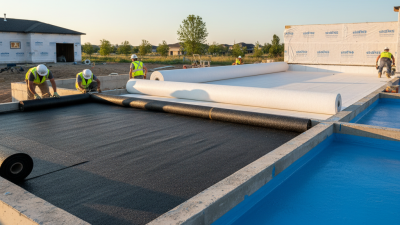
Installing a waterproofing membrane can be challenging, but with the right steps, you can achieve effective protection. Begin by selecting the appropriate membrane for your project. There are several types available: sheets, liquid-applied, and self-adhering. Each option offers unique benefits. Evaluate your specific needs before making a choice.
Next, prepare the surface where the membrane will be applied. Clean it thoroughly to remove dirt, dust, or any loose materials. This step is crucial. Even a small amount of debris can compromise adhesion. If you notice cracks or imperfections, consider repairing them first. You want a smooth base.
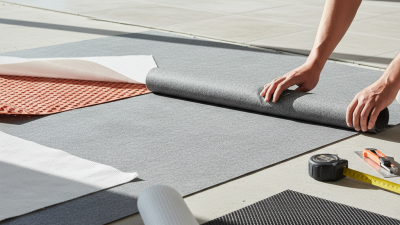
Once your surface is ready, roll out the membrane. Ensure it lays flat and covers all necessary areas. Pay attention to seams; they are often the weakest points. Overlap them slightly to enhance durability. After placing, apply pressure to eliminate air bubbles. This process takes time and patience. Rushing can lead to mistakes, which may require redoing the work later.
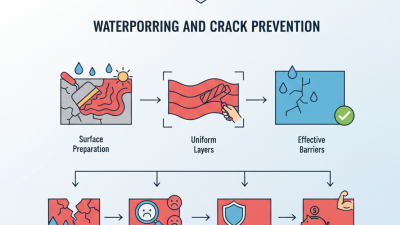
Common Mistakes to Avoid When Applying Waterproofing Membranes
Applying a waterproofing membrane can drastically improve a structure’s longevity, but many make common mistakes. One prevalent error is not adequately preparing the surface. Research shows that improper surface prep can lead to a 30% failure rate in waterproofing systems. Clean the substrate well and ensure it is dry. Dirt, dust, and moisture can compromise the adhesion of the membrane.
Another frequent mistake is ignoring the manufacturer’s guidelines regarding curing times. A report by the International Journal of Construction stated that roughly 25% of waterproofing failures resulted from insufficient curing. Rushing this process leads to bubbles or weak spots in the membrane. Patience is crucial; waiting for the appropriate time can significantly enhance performance.
Additionally, some applicators neglect to check for environmental conditions during installation. High humidity or extreme temperatures can adversely affect the membrane. Over 40% of experts find that installations conducted under unsuitable weather conditions are more prone to issues. Keeping an eye on the forecast can save time and resources in the long run. Taking these points into account can ensure effective waterproofing while avoiding costly mistakes.
How to Install a Water Proofing Membrane for Effective Protection? - Common Mistakes to Avoid When Applying Waterproofing Membranes
| Common Mistakes |
Description |
Prevention Tips |
| Insufficient Surface Preparation |
Not cleaning or smoothing the surface can lead to poor adhesion. |
Thoroughly clean the surface and repair any imperfections before applying the membrane. |
| Incorrect Installation Technique |
Applying the membrane too thick or too thin affects its effectiveness. |
Follow the manufacturer's guidelines for thickness and application technique. |
| Ignoring Weather Conditions |
Applying membranes in wet or overly hot conditions can lead to failure. |
Check weather conditions and allow for appropriate curing time. |
| Failure to Overlap Membrane Edges |
Not overlapping edges can cause leaks at seams. |
Ensure proper overlap as per installation instructions. |
| Neglecting to Test for Leaks |
Assuming the installation is perfect without checking can be costly. |
Perform a leak test after installation before closing up any structure. |