10 Essential Tips for Using Red Gard Membrane Effectively?
The use of red gard membrane has gained significant traction in the construction industry. Recent reports indicate that waterproofing failures account for nearly 85% of building-related issues. This highlights the necessity for utilizing effective materials like red gard membrane in various projects. Proper application of this product can greatly reduce leak risks.
In regions where moisture is prevalent, red gard membrane acts as a reliable barrier against water intrusion. A study from the Waterproofing Industry Association suggests that projects using red gard membrane experienced a 40% decrease in repair costs. However, many users overlook essential application techniques that maximize its effectiveness.
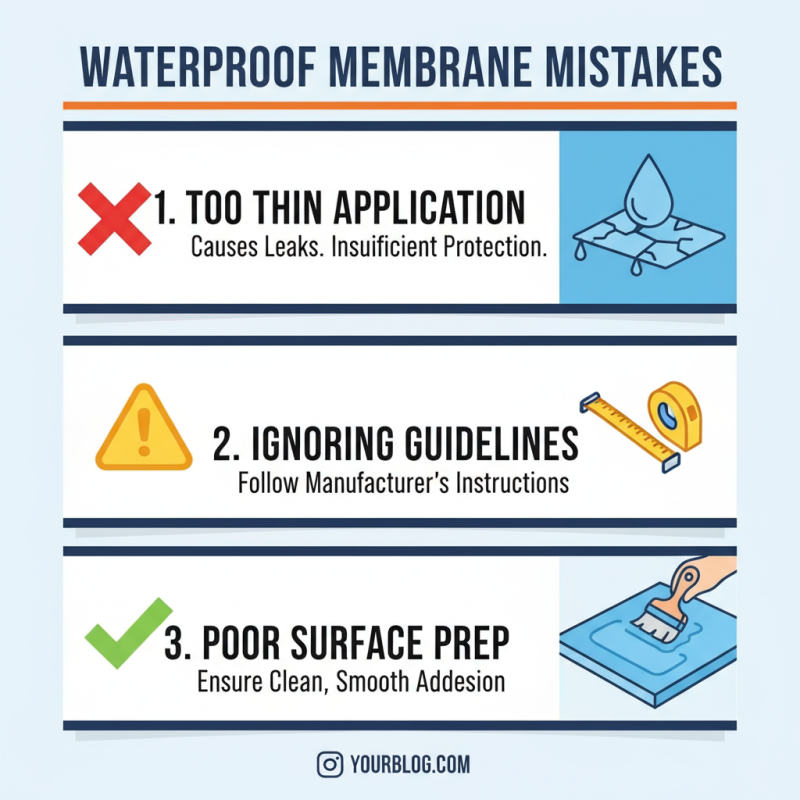
Common mistakes include insufficient surface preparation and improper thickness during installation. These pitfalls can lead to significant long-term issues. Reflecting on user experiences, it's clear that thorough training and attention to detail are vital for optimal performance. Hence, understanding the nuances of red gard membrane usage can save time and resources while enhancing project durability.
Understanding Red Gard Membrane: What It Is and How It Works
Red Gard Membrane is a popular choice in modern construction. It serves as a waterproof barrier, protecting structures from moisture damage. This product is essential for areas exposed to water, like bathrooms and kitchens. The membrane is applied directly to substrates, creating a seamless layer. The key to its effectiveness lies in proper installation.
According to industry reports, approximately 40% of water damage in buildings is due to improper waterproofing. A common mistake is not allowing the membrane to dry fully before tiling. This can lead to mold growth and reduced adhesion. The recommended drying time must be strictly followed. Additionally, the membrane's thickness plays a crucial role. Deviation from the required measurements might compromise its performance.
Installation requires careful attention to detail. Ensure surfaces are clean and free of debris before application. Even minor imperfections can cause failures later on. The importance of seams and overlaps cannot be understated; they're vulnerable points. Moreover, not everyone understands the necessary precautions. Regular training and updates on best practices can help reduce errors. This ongoing education is vital in the industry.
Choosing the Right Surface for Red Gard Membrane Application
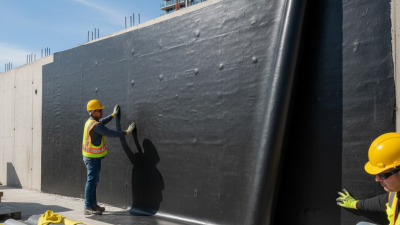
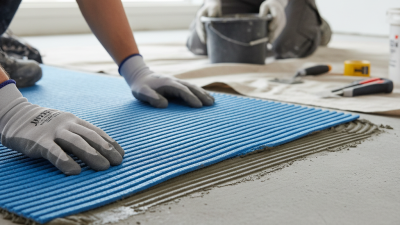
Choosing the right surface for Red Gard membrane application is crucial for optimal performance. Begin with a clean, dry surface to ensure proper adhesion. Any dirt or debris can hinder the bonding process. Concrete, cement board, or drywall are suitable surfaces, but each has specific preparation steps. Ensure the surface is free from cracks and imperfections. If you find any, repair them before applying the membrane.
Surface texture also matters. Smooth surfaces may require additional preparation to promote adhesion. An abrasive texture could lead to uneven application, causing problems later on. Don’t rush this step. Take the time to inspect and prepare your surface thoroughly. This ensures a better seal and longevity of the membrane.
Another aspect to consider is the environmental condition. Temperature and humidity can affect drying times and adhesion. Avoid applying the membrane in extreme conditions. Patience is key here. You may need to wait for the right moment. Keep these details in mind for a successful application. If done correctly, the results will speak for themselves.
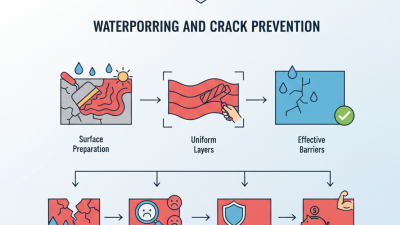
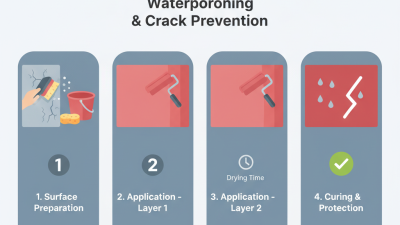
Step-by-Step Installation Guide for Red Gard Membrane
Installing a red guard membrane can be straightforward, but attention to detail is crucial. Begin by preparing the surface. Ensure it is clean, dry, and free from debris. This may take time, but it’s worth it. Uneven surfaces can lead to issues later. Proper preparation sets the stage for success.
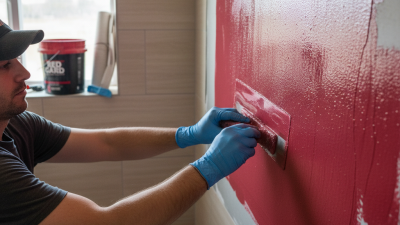
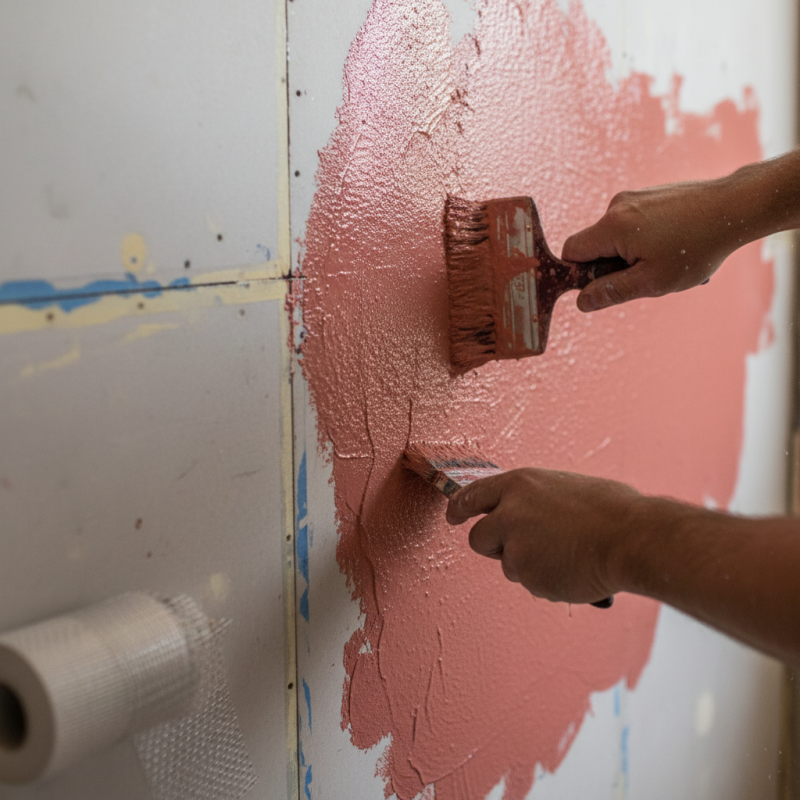
Next, apply a suitable primer. Use a paint roller or brush for even coverage. Let it dry completely, which might take several hours. This step often gets overlooked. Rushing can lead to adhesion problems. Once dry, it’s time to apply the membrane itself. A thick, even layer is essential. Use a trowel to spread it smoothly. Aim for at least 1/8 inch thickness.
Carefully check for any missed spots. Sometimes, imperfections can be hard to see. If you spot any, don’t hesitate to patch them. Allow the membrane to cure properly before proceeding. This waiting period can feel long, but it’s vital. Skipping this can negate all previous efforts. With patience and care, lasting results are achievable.
10 Essential Tips for Using Red Gard Membrane Effectively
| Tip Number |
Tip Title |
Description |
Key Takeaway |
| 1 |
Surface Preparation |
Ensure that the surface is clean, dry, and free of debris before applying the membrane. |
A clean surface ensures proper adhesion. |
| 2 |
Temperature Control |
Apply the membrane in temperatures between 50°F and 100°F for optimal results. |
Temperature affects curing time and adhesion. |
| 3 |
Use Proper Tools |
Utilize a trowel for even application and a roller for smoothing. |
Correct tools lead to better application. |
| 4 |
Thickness Matters |
Maintain a consistent thickness of 1/16-inch for effective moisture control. |
Inconsistent thickness can lead to leaks. |
| 5 |
Edge Sealing |
Seal all edges thoroughly to prevent water intrusion. |
Sealed edges are critical for waterproofing. |
| 6 |
Allow for Proper Curing |
Let the membrane cure for at least 24 hours before covering. |
Curing time is essential for durability. |
| 7 |
Inspect for Defects |
Check for bubbles or imperfections after application. |
Early detection helps in preventing future issues. |
| 8 |
Follow Manufacturer Instructions |
Adhere strictly to the product guidelines for best results. |
Manufacturer guidance is based on extensive testing. |
| 9 |
Choose the Right Application Method |
Different projects may require spraying, brushing, or rolling. |
Application method impacts effectiveness. |
| 10 |
Regular Maintenance |
Inspect installations periodically for signs of wear. |
Maintenance extends the life of the membrane. |
Maintaining and Repairing Red Gard Membrane for Longevity
When working with Red Gard membrane, maintenance is crucial for ensuring durability. Regular inspections can identify cracks or moisture issues before they become significant problems. According to industry studies, up to 30% of membrane failures stem from improper installation or lack of maintenance. Addressing these points early can save time and money in repairs.
Repairing a damaged membrane is not as daunting as it seems. Small tears can usually be patched with compatible sealants, which are often readily available. It is essential to follow the manufacturer’s guidelines for repairs to ensure a proper bond. Inadequate repairs can lead to costly replacements down the line. Keeping a repair kit on hand can be beneficial for quick fixes.
Another key aspect is monitoring the membrane's condition amid varying weather conditions. Extreme temperatures and humidity can compromise its integrity. Performing seasonal checks, particularly before rainy seasons, can help maintain its effectiveness. Failure to do so may lead to 40% increased risk of damage due to prolonged exposure to moisture. Regular care and attention to detail can enhance the longevity of a Red Gard membrane, ensuring it performs as expected.
10 Essential Tips for Using Red Gard Membrane Effectively