How to Use Redgard Waterproofing and Crack Prevention Membrane Effectively?
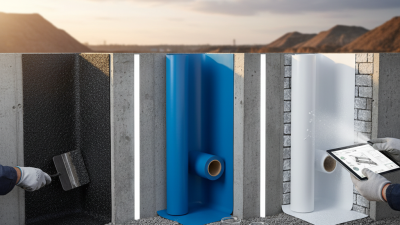
When it comes to ensuring the longevity of your surfaces, the redgard waterproofing and crack prevention membrane stands out. This product provides essential protection against moisture and cracks, which are common issues in many structures. Applying Redgard is not just a simple task; it requires careful consideration and attention to detail.
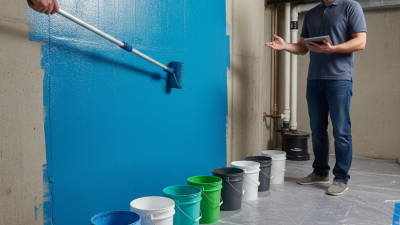
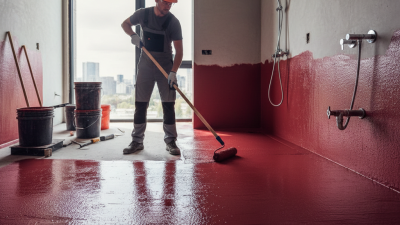
Using redgard waterproofing and crack prevention membrane can be straightforward, yet many users overlook vital steps. For example, the surface must be clean and dry before application. This may seem trivial, but it often gets neglected, leading to poor adhesion and reduced effectiveness. The recommended paint-on method allows for precise control over coverage, but achieving an even layer can be challenging.
While the benefits are clear, some potential flaws in the application process warrant reflection. Many might apply it too thickly or inconsistently, compromising its protective qualities. Moreover, users should note the curing time, which, if rushed, can lead to peeling or failure. Understanding these nuances will help you utilize the redgard waterproofing and crack prevention membrane more effectively.

Understanding Redgard: Composition and Function in Waterproofing
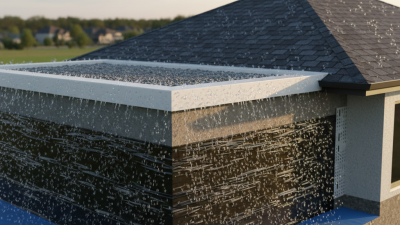
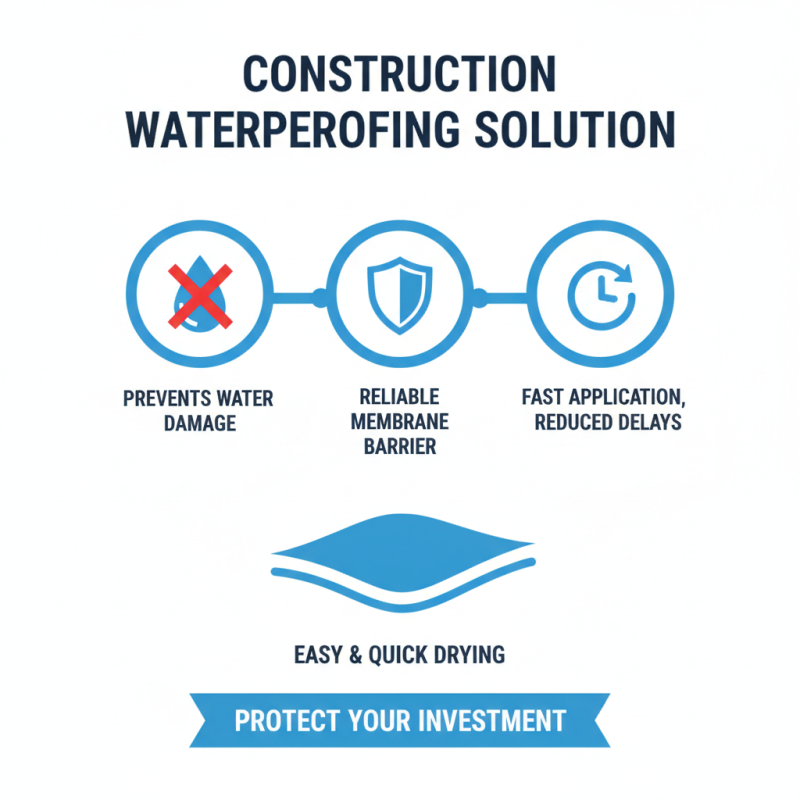
Redgard is a popular choice for waterproofing. Its unique composition includes polymers that provide flexibility. These materials create a barrier against moisture, which is crucial for longevity in construction. According to industry data, waterproofing membranes can reduce water-related issues by up to 80%. This highlights the importance of selecting high-quality products.
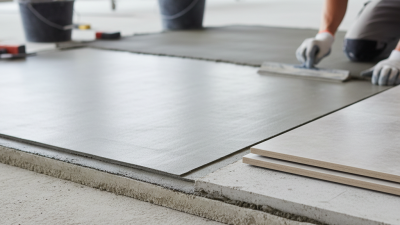
When applying this membrane, surface preparation is vital. The substrate should be clean and free of debris. Any cracks may need to be patched before application. A consistent thickness of the membrane is key for effective waterproofing. Studies show that uneven application can lead to leaks, resulting in costly repairs later.
It’s essential to consider environmental factors as well. Temperature fluctuations can affect the curing process. If the product is applied in too cold conditions, it may not bond effectively. There’s a risk of peeling and cracking, which undermines its protective qualities. Being aware of these challenges is crucial for proper installation and long-term performance.
Step-by-Step Application Process for Redgard Membrane
Applying a waterproofing and crack prevention membrane may seem straightforward, but it requires attention. The surface must be clean and dry. According to industry reports, effective surface preparation can improve adhesion by up to 50%. Remove dust, dirt, and grease to ensure the membrane bonds properly. Cracks and joints should be filled. This step is often overlooked, leading to future issues.
Once the surface is prepared, application begins. Use a trowel or roller for a consistent layer. Aim for a thickness of 30 mils, as this is an industry standard for effective waterproofing. Allow adequate drying time between coats. Incomplete curing can result in weak spots. It’s important to note that fluctuations in temperature can affect drying.
After application, inspect all areas carefully. Look for bubbles or missed spots. These imperfections can compromise the membrane's effectiveness. While most projects go smoothly, it's essential to learn from any mistakes. Regularly reviewing your process can enhance future results. Remember, even small oversights can lead to significant setbacks.
How to Use Redgard Waterproofing and Crack Prevention Membrane Effectively? - Step-by-Step Application Process for Redgard Membrane
| Step |
Description |
Tips |
| 1 |
Clean the Surface |
Ensure the surface is free of dust, dirt, and grease. |
| 2 |
Apply Primer (if recommended) |
Use a compatible primer for better adhesion. |
| 3 |
Mix the Redgard Membrane |
Follow manufacturer's instructions for mixing. |
| 4 |
Apply First Coat |
Use a brush or roller to apply an even layer. |
| 5 |
Allow to Dry |
Make sure it is completely dry before applying the second coat. |
| 6 |
Apply Second Coat |
Apply in the opposite direction of the first coat for better coverage. |
| 7 |
Final Inspection |
Check for any missed spots or uneven areas. |
Best Practices for Surface Preparation Before Applying Redgard
Surface preparation is crucial before applying a waterproofing membrane. A clean and dry surface ensures the membrane bonds effectively. According to industry studies, up to 75% of waterproofing failures can be traced back to poor surface preparation. Clean the substrate by removing dust, dirt, and oils. Use a power washer or scrub brushes for deeper cleaning. Pay attention to any existing coatings or residues that could affect adhesion.
Additionally, repairing cracks or defects is essential. Most experts recommend filling cracks wider than 1/8 inch with appropriate filler. This step minimizes the chance of water infiltration. The surface should be smooth and even. A rough surface can lead to uneven coating and create weak spots. Testing the moisture content of the substrate is also advised. The ideal level is below 12%. If moisture levels are higher, it may compromise the performance of the membrane.
Once prepared, allow the surface to dry fully. This could take several hours, depending on the environment. Skipping this step may lead to bubbles or peeling in the waterproof layer. Reflecting on past projects, some applicators overlook this detail. Waiting an additional few hours for complete drying can save future headaches and costs. Remember, diligence in preparation sets the stage for a successful waterproofing application.
Waterproofing Success Rates with Different Surface Preparations
Common Issues and Solutions When Using Redgard Waterproofing
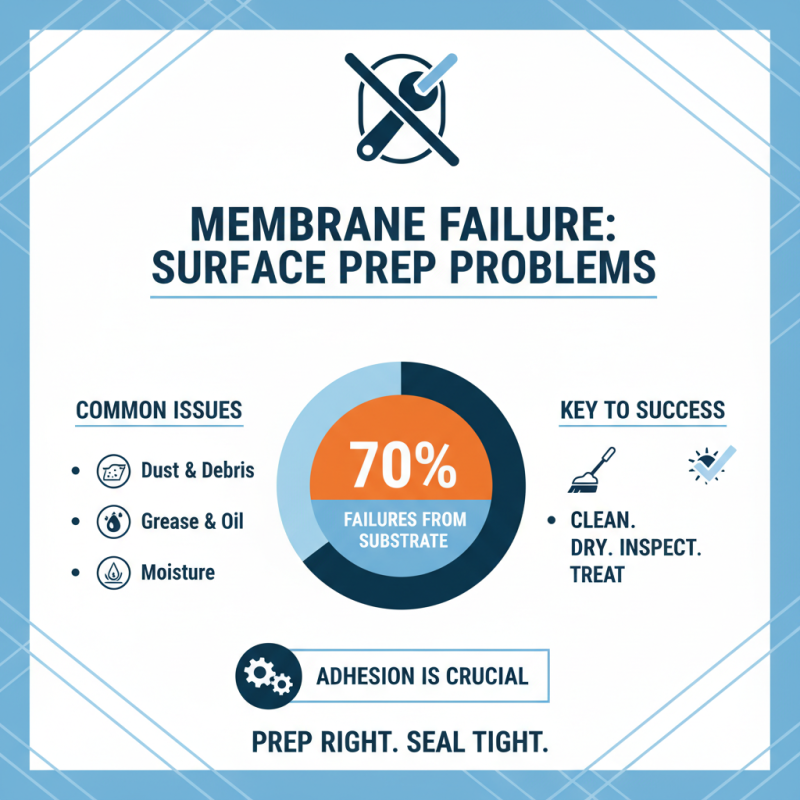
When using a waterproofing and crack prevention membrane, several common issues can arise. One frequent problem is improper surface preparation. According to industry reports, up to 70% of membrane failures are linked to inadequate substrate conditions. Clean, dry surfaces are crucial for adhesion. Even dust or grease can affect its performance. It’s vital to inspect and treat the substrate before applying any product.
Another common challenge is achieving the right thickness during application. Many users apply too thin a layer, compromising effectiveness. Data from construction studies show that a thickness of 20-30 mils is ideal for optimal protection. Not maintaining this standard can lead to water penetration and mold growth. Be mindful during application, using a consistent method to gauge thickness.
Additionally, curing time is essential. Many rush this process, undermining the membrane’s potential. Proper curing can take up to 72 hours depending on humidity. If disturbed too early, the membrane may not bond properly. Reflecting on these factors can save considerable time and resources. Always prioritize preparation, application, and curing to ensure long-lasting results.